
DIY Spiral Staircase
/Before we moved into the cabin, we had an excellent idea of what we wanted. And then we moved in, started living here and our priorities and expectations for our space changed. We originally wanted to start with renovating the kitchen and adding an island. However, that changed after we used the stairs over and over again. These stairs to the left of the pic lead to the only bedroom and bathroom in our cabin; quite simply, the stairs are/were not safe! The treads were far too small and the rise way too high and steep. We knew something had to change.
After a few weeks of pouring over possibilities and talking to our cabinet guy about building a custom spiral out of wood, we realized we wanted this space to feel more open and wanted to incorporate a more industrial look to this little corner. Feeling like more wood might make the room feel too heavy, we settled on a metal spiral staircase “kit.”


We did save the steps! They are being repurposed and used in our bathroom vanity!
This was a PROCESS! From start to finish, working around our work schedule, kids (and virtual learning - YAY) it took us 2.5 weeks to complete.
Step 1: Receive the MASSIVE box of parts and pieces and regret all of our life choices up to this point.
Step 2: Remove the existing stairs and oven (FYI, I haven’t had a range since November 20, 2020…not that I am keeping track.) P.S. I have perfected the art of cooking via toaster oven and instant pot….but this post isn’t about me; let’s continue.
Step 3: Invite Jon’s brother to spend the entire weekend here helping. He accepted, and the kids and I moved out for the weekend while most of the demo was happening.

So thankful for help!
The guys spent all weekend making sure the space was structurally safe before we tackled getting the stairs put together.
Step 4: Jon and Bryan had to cut out part of the upstairs flooring to make a perfect 6’ square space for the stairs to live. Which involved moving a header as well and adding additional boards to existing headers for more support….it was a whole dang thing, y’all. Trust me.
Step 5-2000: Bust up the existing tile floor, put together the spiral staircase pole (no one wants to talk about this part. No one) Install the platform to the upstairs floor, bring the assembled pole inside and lift it into place….remove the pole, because it’s too large. Re-group. Eat pie. Cry a little. Get back to work.
Step 2500-4000: Legit get the pole up, begin placing the treads on the pole, read instructions 800 times and still be confused. !!!!!!!!DO YOUR DANG BEST NOT TO LOSE ANY PIECES OR NUTS OR BOLTS OR ANYTHING!!!!!! Because there are about 980,000 pieces. Hire a tile guy to lay a tile floor before you set all the treads. Set all the treads (I’m not sure we have pictures but I know I have video of me hanging on the treads to get them set and level. And THAT was the day I learned why I work out.) After the treads were set and spaced correctly and leveled, we install the balusters - screwing metal onto metal is not a fun noise but use your imagination. We don’t need to talk about the fact that each baluster had to be cut to fit…do we? Let’s don’t….
EDIT - During these 14 Days when the stairs could not be used, our little family of 5 used a ladder to go up and down to get to the restroom. My mom loved this, I am sure. Let’s continue; we are almost there!
Step 1 million: Bend the metal handrail and attach it to the balusters. Admire our hard work and make a promise that we won’t install another spiral staircase in our lifetime.


“Change is a process, not an event. ”

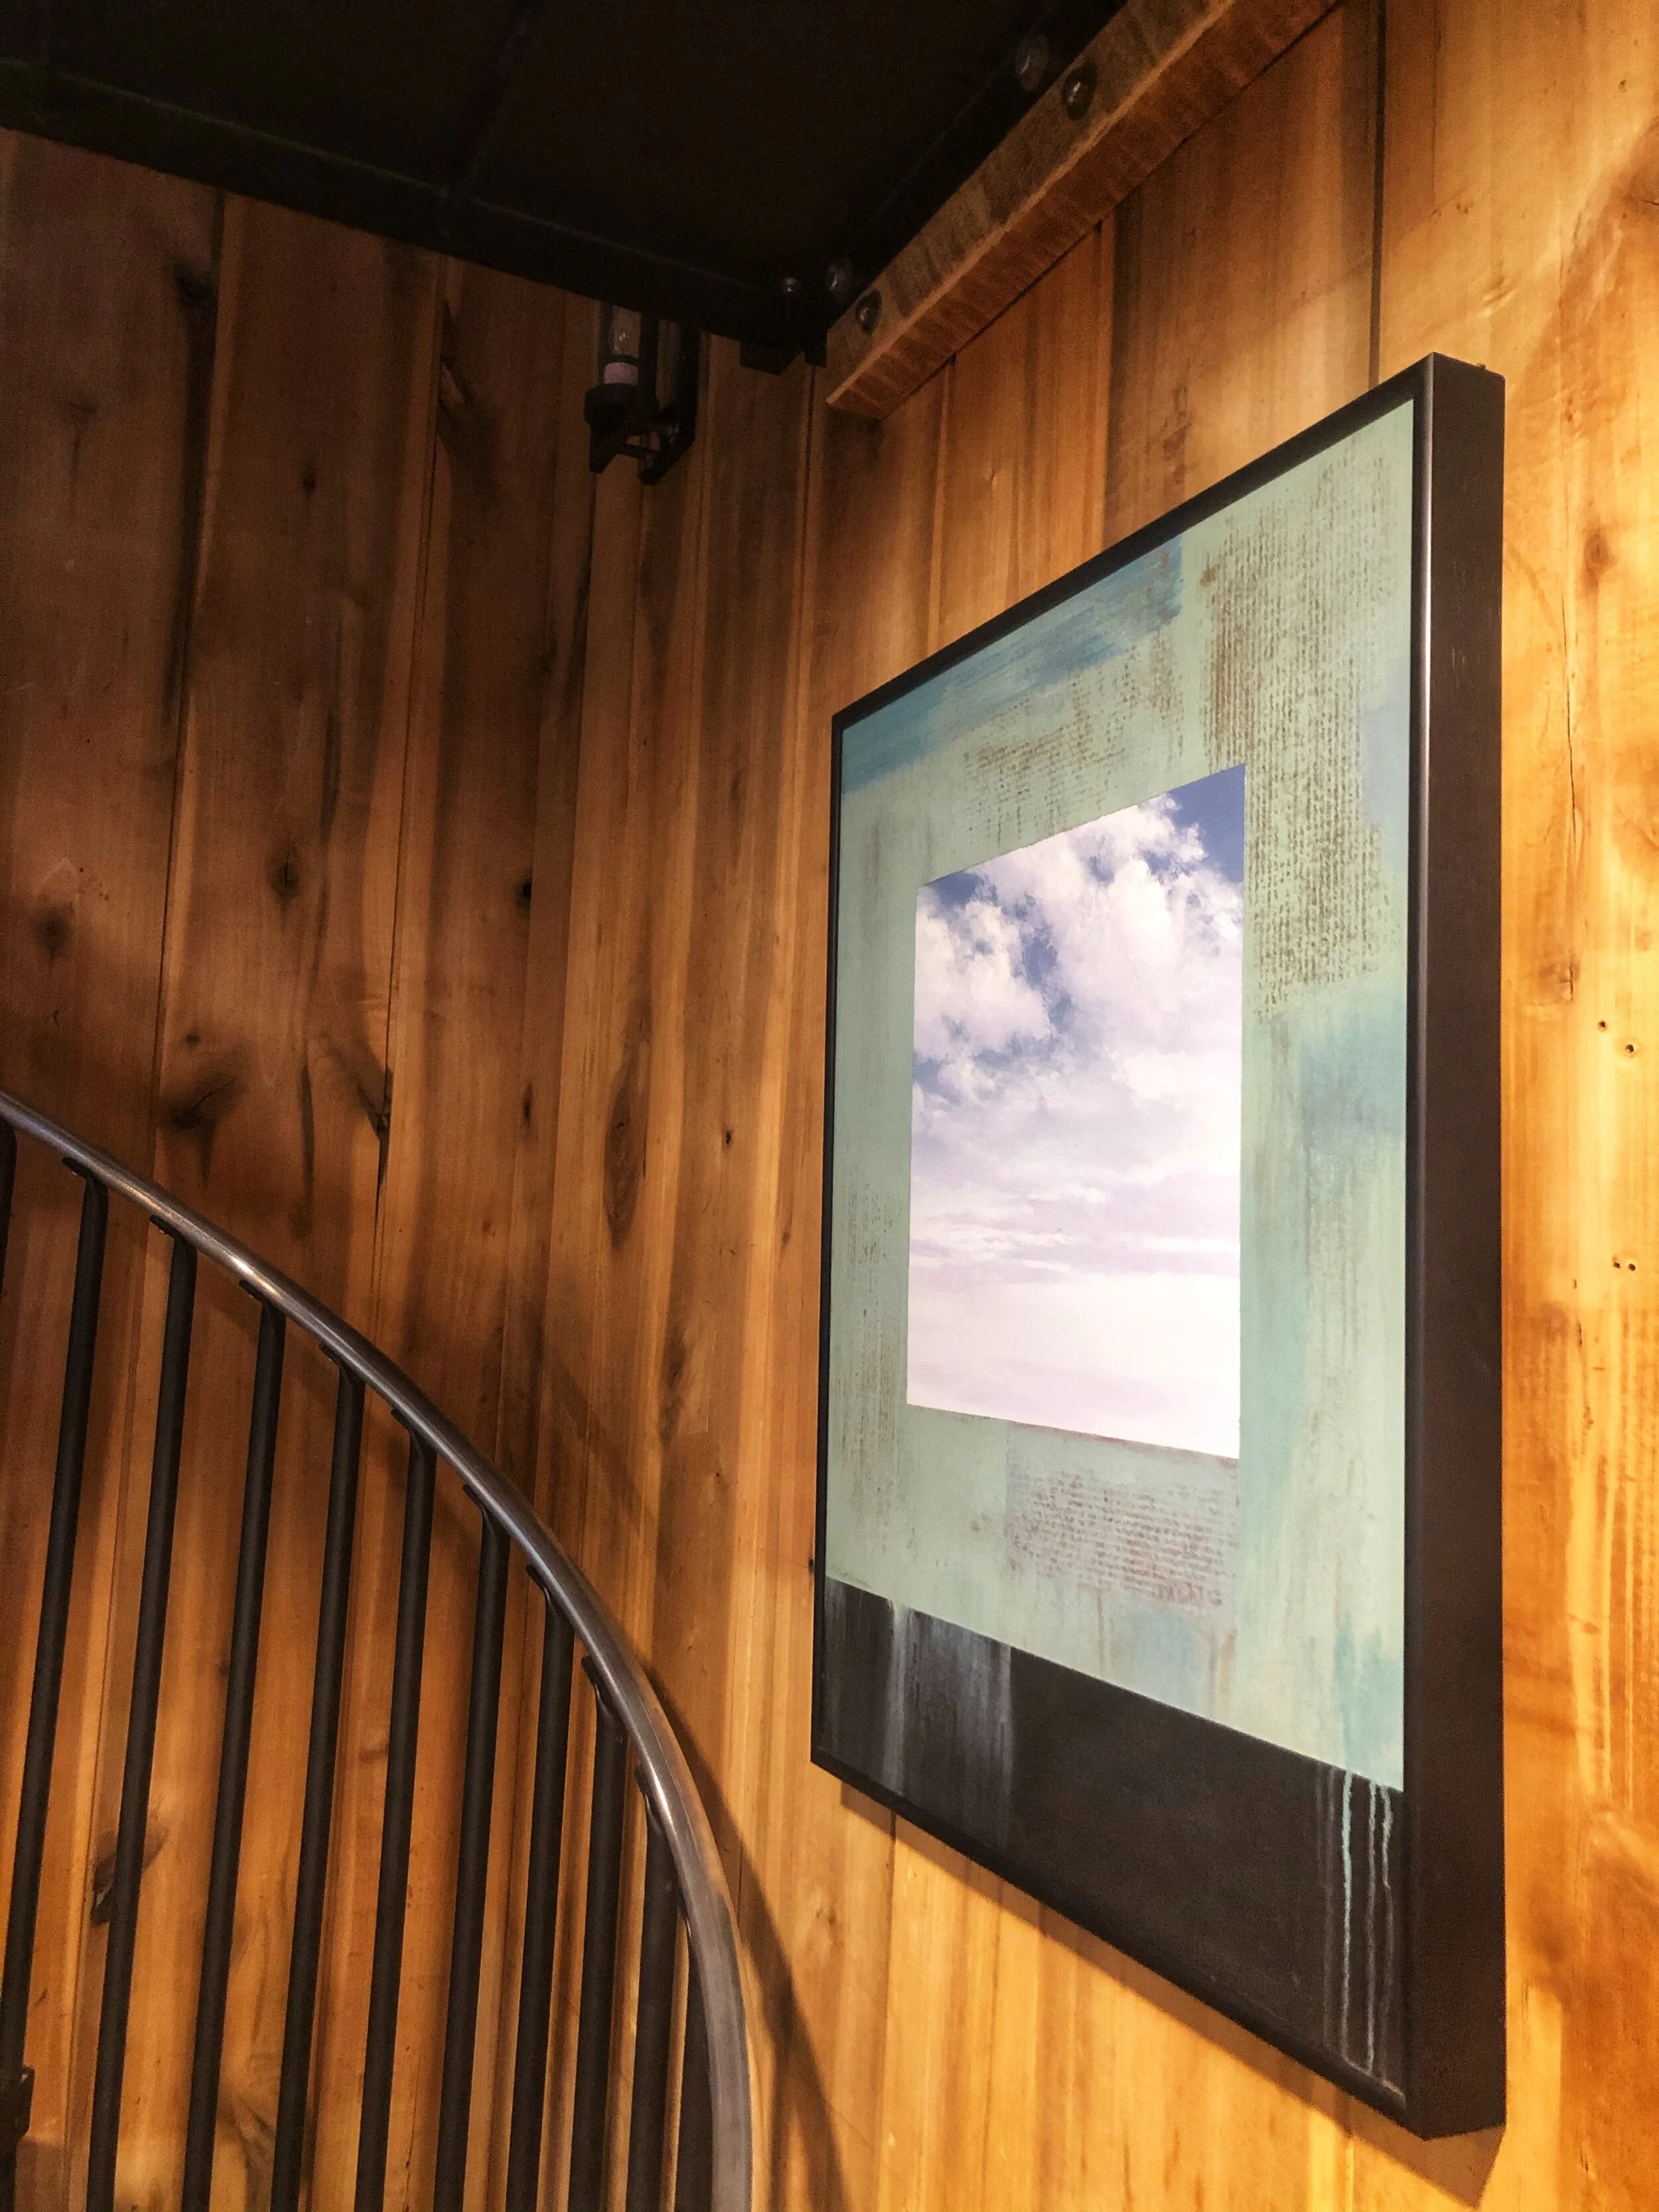
As things become a bit more permanent I’ve been able to start decorating….which I love. :o)